Step-by-Step
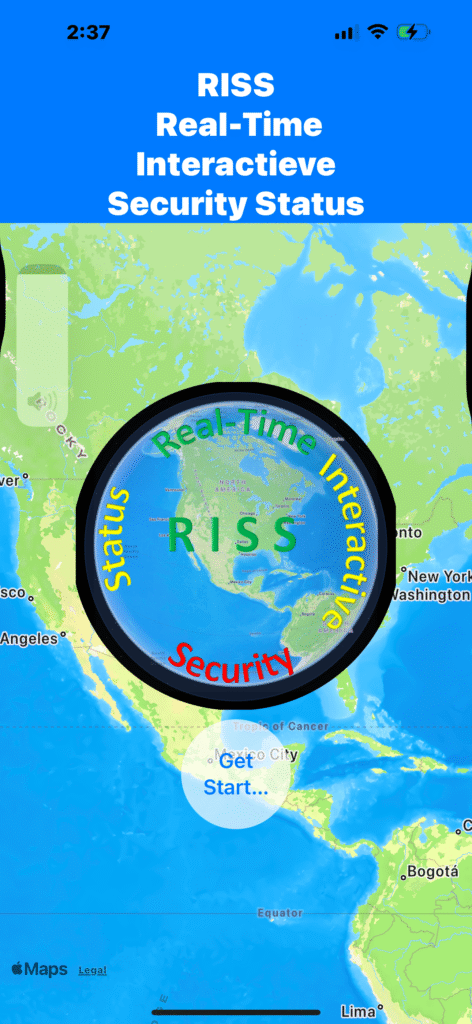
•Once activated, the user will see the screen to the right
•Press <Get Started>
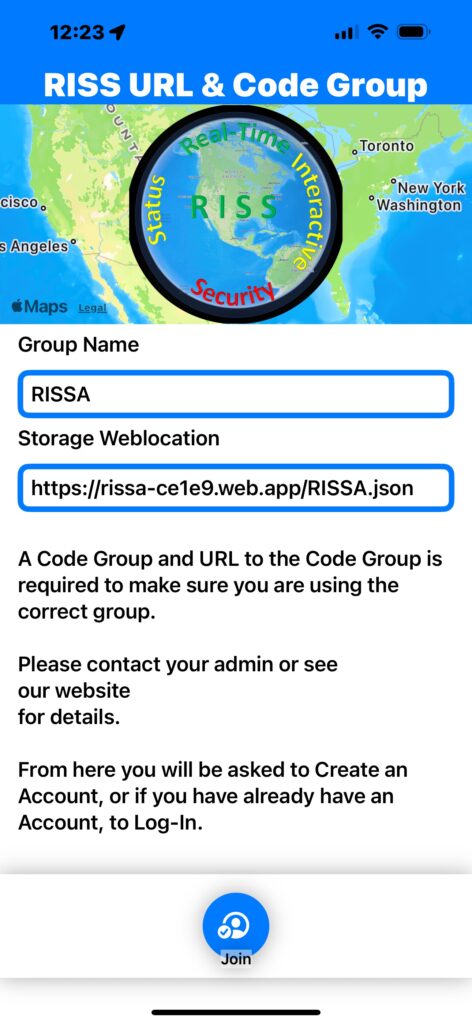
•The next screen allows the User to select a Code Group and URL which configures the Users RISS App to a realtime database
•The URL and Group for RISS is set by default so Users who wish to us the RISS configuration just have to press <Join>
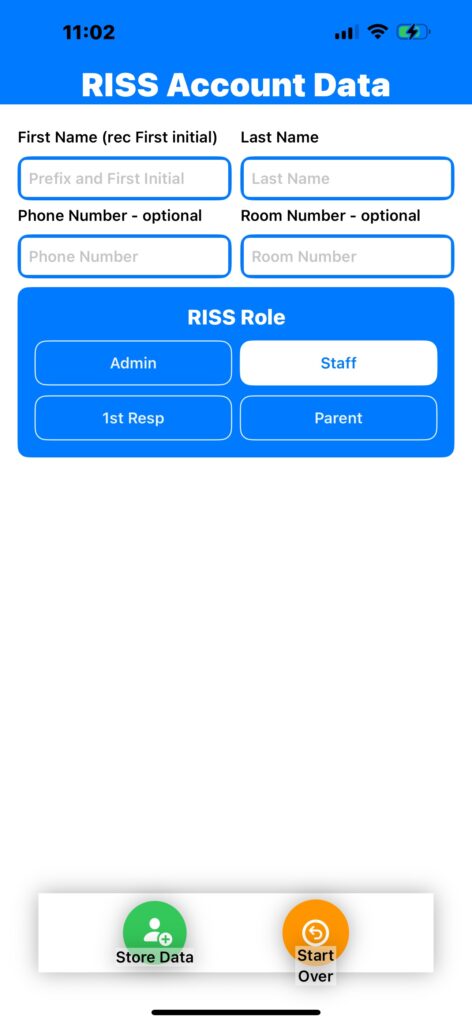
•After joining a Code Group the User is shown RISS Account Data screen which allows the User the option to input User Data and select a Role
• Suggest first Initial and last name
• Press <Store Data>
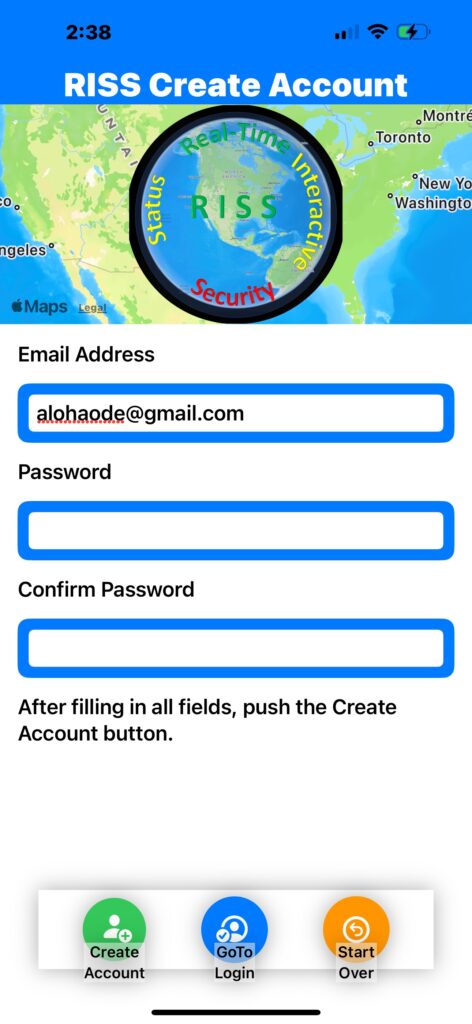
•If Create Account is selected fill in your email address and select a password
• Press <Create Account>
•After storing your User Data select <LogOn> if you have previously Created an Account and select <Create Account> if you have not

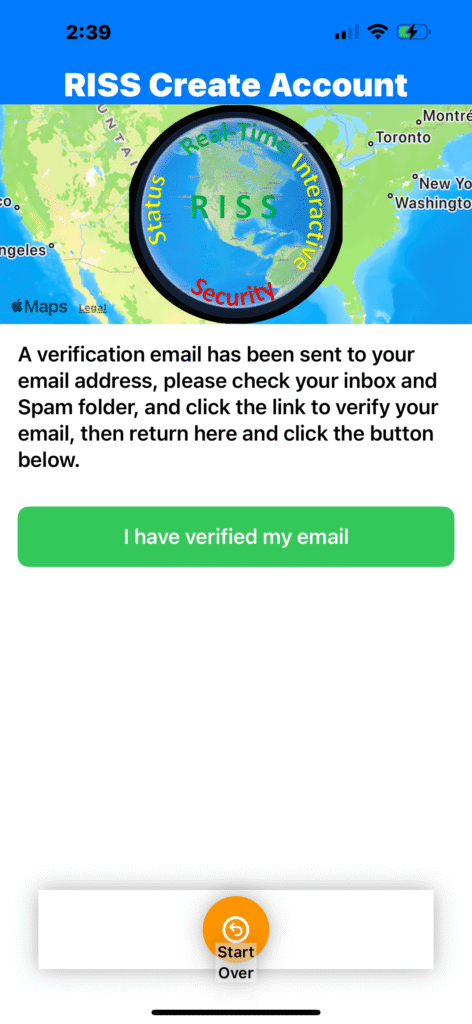
•After Creating an Account the User will sent an email to the email address, look in your inbox and Spam folder, click the link sent then return to this screen
• Press <I have verified my email>
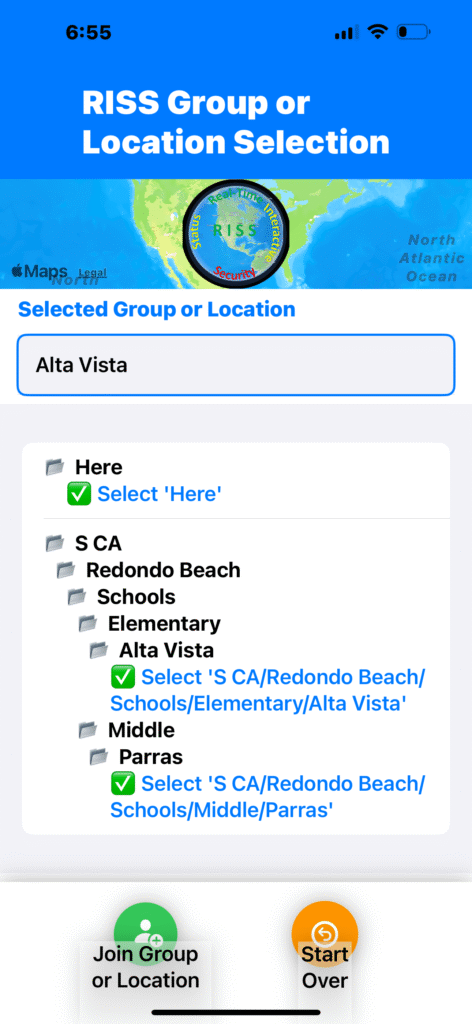
•After LogOn the User can select from locations listed in our RISS RealTime DataBase
• Select a location from the drop down menu so that it show in the “Selected Group or Location” box
• Press <Join Group or Location>
• If a User wishes a location to be added, please contact RISS Support
•Next a screen will show allowing location permissions
• Location sharing is optional

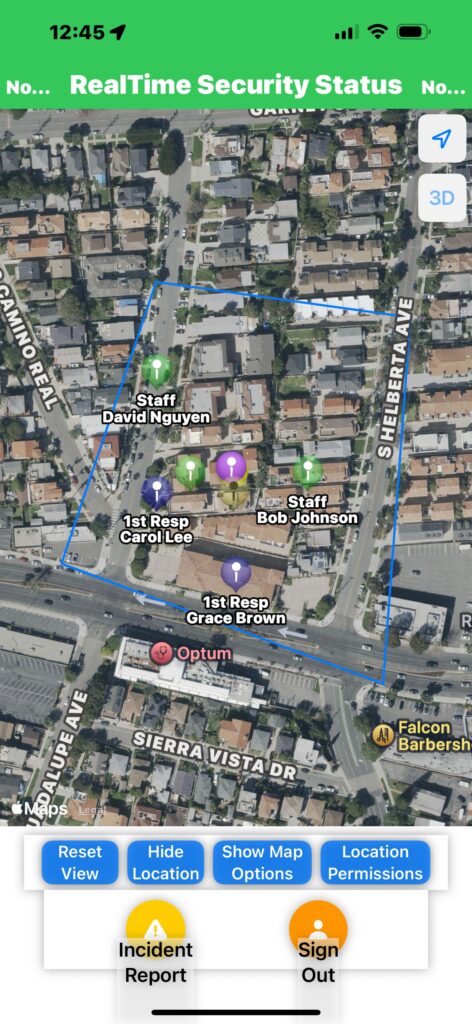
Your Ready TO GO!
•The User is then taken the location selected
• A Users location will only show if they are within the location boundary shown in blue
• Location update rate is set by RISS Support and is slow when there are no Incident Alerts
• Location update rate is increased when an Incident Alert is generated